Classic Yandex Disk for Windows
The classic Yandex Disk program lets manage Yandex Disk files on your computer and automatically syncs all changes with Yandex Disk over the Internet.
- Windows XP Service Pack 3 32-bit (as of version 0.8, Service Pack 1 and Service 2 are no longer supported)
- Windows XP Service Pack 2 64-bit (as of version 0.8, Service Pack 1 is no longer supported)
- Windows Vista
- Windows 7
- Windows 8 (classic interface)
- Windows 10
- Installation and authorization
- Select the Yandex Disk folder location
- Manage files and folders
- Sharing files and folders
- Open access to a folder
- Auto-upload photos and videos on Disk
- There isn't enough space on the computer for the whole Yandex Disk folder. What should I do?
- How can I place the Yandex Disk icon in the system tray?
- Report an error
Installation and authorization
Download the app from . You will see instructions on how to run the file once it starts downloading.
The  icon will appear in the Windows system tray when the installation is complete.
The “Yandex Disk” program will ask you to enter your Yandex username and password. The tray icon will display an exclamation mark until you've logged in.
If you did not log in immediately after installation, click the app icon in the tray and the link Disk is not set up. Configure Yandex Disk.
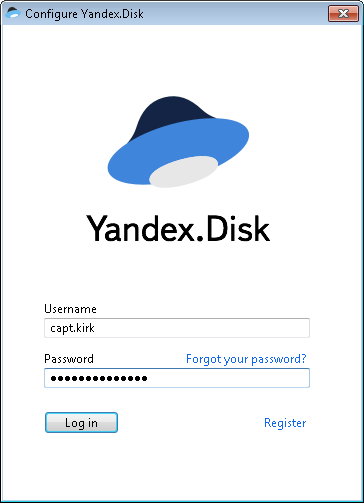
If you still don't have a Yandex account, click Register to create one. Then enter your username and password.
Select the Yandex Disk folder location
The “Yandex Disk” program automatically creates a folder that syncs with our cloud service. You can change its location on your computer after the program finishes installing. To do so, click and select the desired location for the Yandex Disk folder.
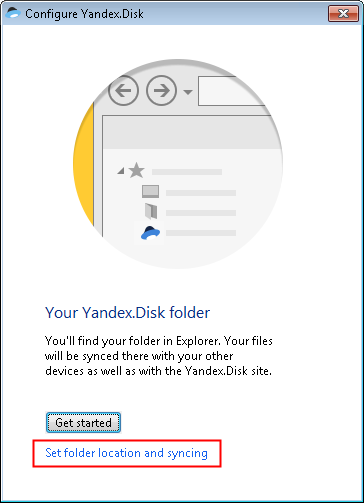
If you skipped this stage, you can set up the folder location another way:
- Open the menu.
- Click
 .
. - Select Settings.
- In the Other tab in the Folder block, click the Edit button.
Manage files and folders
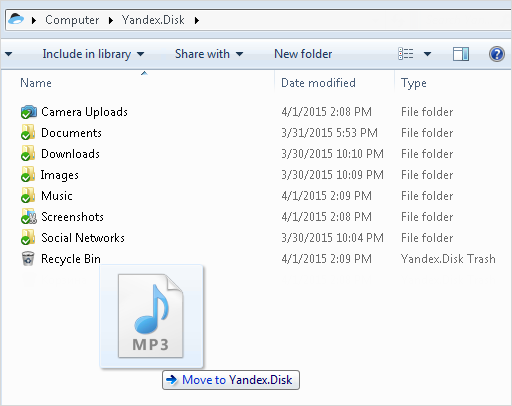
To upload files to Yandex Disk, just copy or move them to your Yandex Disk folder. For example, you can open the folder in Explorer (click  in the menu) and drag the files you want to it. The files you moved appear on the server after syncing. You can open your to make sure that all the files have been uploaded successfully.
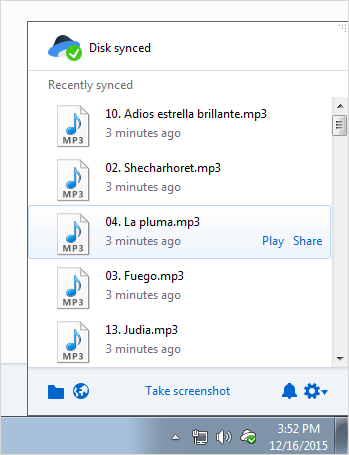
The latest synced files and folders can be found in the menu. You don't need to open the Yandex Disk folder to access them. You can quickly open a file from the menu, share it, drag it to the window of the program you want to open it in, or delete it.
Any file you delete from the Yandex Disk folder will be moved to the Trash folder on the server. These files are stored in the Trash for 30 days, then they are automatically deleted from the server. Once deleted from the server, these files cannot be restored.
To empty the Trash on Disk, open the Yandex Disk folder, right-click the Trash and select Yandex Disk: Empty Trash.
Sharing files and folders
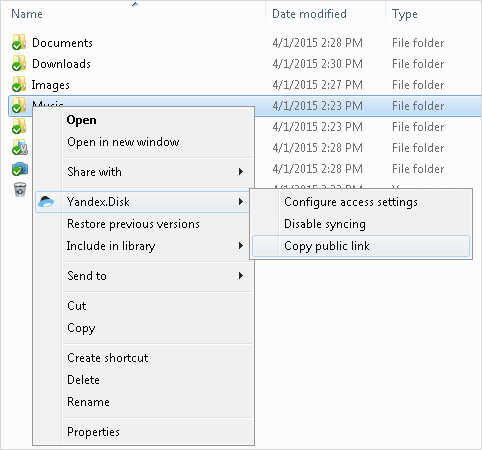
You can share any file or folder on your computer. If you select a file or folder that wasn't uploaded to Yandex Disk, the program will automatically upload it to the Yandex Disk server and copy the public link to your clipboard.
Right click the file or folder. In the menu that appears, choose for a folder, or Yandex Disk: Copy public link for a file.
You can also share a file or folder via the app menu:
- Click the Disk icon in the tray (notifications area).
- Select a file from the list and click Share:
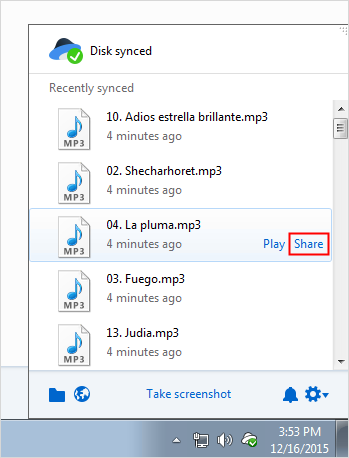
You can insert the copied link in an email, post it on social networks, and so on.
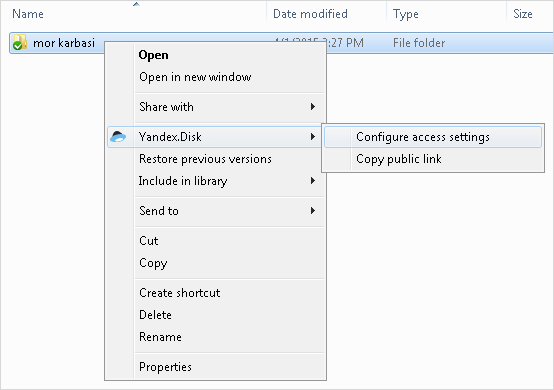
Open access to a folder
Auto-upload photos and videos on Disk
You can automatically upload all your photos and videos from any storage media (camera, smartphone, memory card, and so on) and save them to “Camera Uploads” or any other folder in Yandex Disk.
Uploading files
Connect the device to your computer and wait for the upload window to appear:
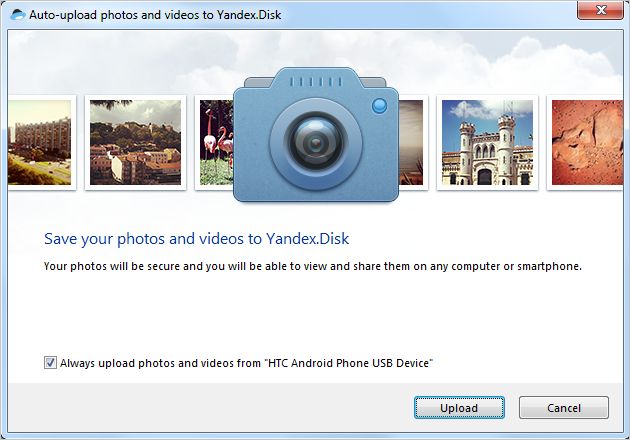
To start the upload of photo and video files to Disk, click the Upload button. Leave the Always upload photos and videos from <device name> checkbox selected to automatically start uploads when you connect the device.
By default, all the photos and videos detected on your device will be uploaded to the “Camera Uploads” folder. All the files in your folder will be named according to the date and time they were taken. You can manage your photos on your computer or the Yandex Disk page in image viewing mode.
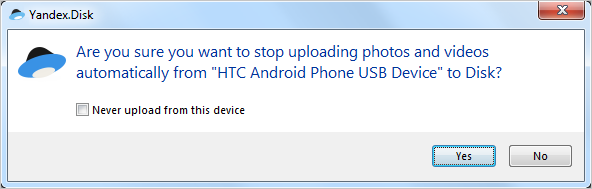
If the device was disconnected from the computer during the upload and the Always upload photos and videos from <device name> option was turned on, the upload will continue automatically when the connection is back. If the option was disabled, a dialog box will appear prompting automatic downloading.
Just click Yes to stop automatically uploading photos and videos from your device. In the dialog box that appears, you can choose to stop only the current upload or enable Never upload from this device. If you enable this option, this window will not appear the next time you connect this device to your computer.
Disabling auto-uploads
Take the following steps to disable auto-uploads for all devices:
- Disconnect the devices from your computer.
- Click the program icon in the Windows notifications area.
- Click.
- Select Settings.
- Go to the Camera Uploads tab.
- Disable the Ask to upload photos and videos automatically option.
- Click Forget all devices.
- Click OK.
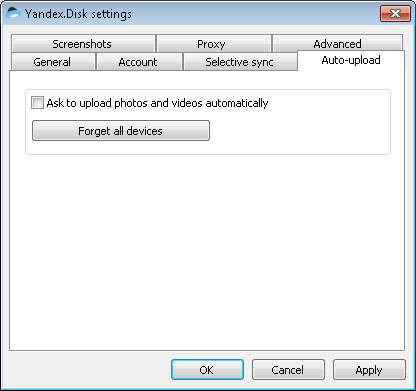
If you no longer want files to auto-upload from a device that you previously connected to your computer, make sure the Ask to upload photos and videos automatically option is enabled and click the Forget all devices button. The next time you connect that device, a dialog box will ask you if you want to upload your files automatically.
There isn't enough space on the computer for the whole Yandex Disk folder. What should I do?
To save space on your computer, you can disable syncing with the Yandex Disk server for one or more folders.
You can also set up selective syncing the first time you launch the program to avoid downloading all the folders to your computer.
Disabling folder syncing
 icon).
To turn off folder syncing, follow these steps:
- Click the program icon in the tray.
- Click.
- Select Settings.
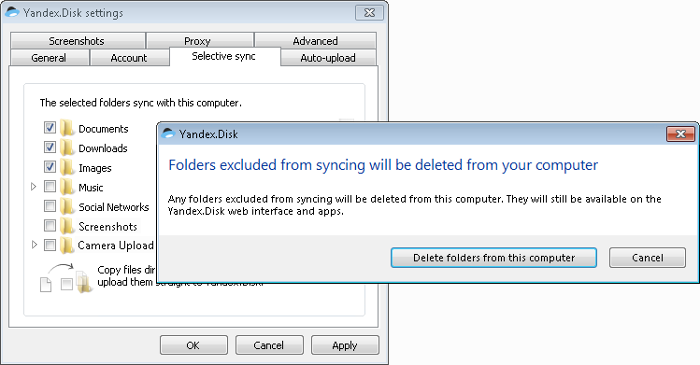
- Go to the Selective sync tab.
- Uncheck the folder that you don't want to sync.
- Click OK.
- Click Delete folders from this computer in the window that appears for the changes to take effect.
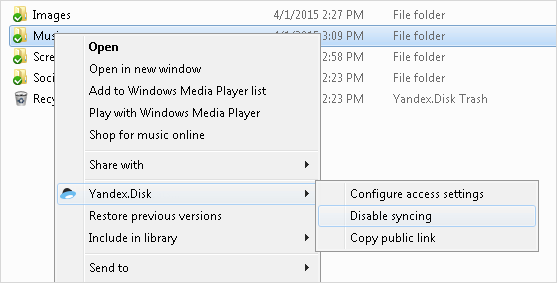
You can also use the context menu to disable folder syncing. Open the Yandex Disk folder and right click a folder. In the menu, select :
Uploading to a folder with sync disabled
If you turned off folder syncing, you can upload files to this folder in the Yandex Disk settings window. Go to the Selective sync tab and drag the files to the name of the appropriate folder:

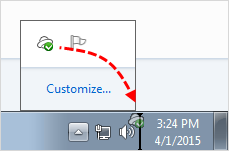
How can I place the Yandex Disk icon in the system tray?
To make Disk easy to find, the “Yandex Disk” app icon is always displayed in the Windows system tray. If you don't see the icon on your taskbar, you can drag it to a visible section of your tray:
Report an error
If you encounter a problem using the Yandex Disk program, let us know about the error through the feedback form at the bottom of the page. Please attach logs from the .sync and Application Data folder to your message.
How to get logs from the .sync folder
- Click the program icon in the tray.
- Click.
- Select a topic from the Help menu.
- Hold down the Ctrl key and click Report an error to Yandex. A folder containing the ZIP archive you selected opens automatically.
- Attach this archive to the feedback form.
How to get logs from the Application Data folder
- Open File Explorer, copy the address %LOCALAPPDATA%\Yandex\Yandex Disk, and insert it into the address bar.
- Press Enter.
- Archive the contents of the folder that opens and attach this file to the feedback form.
- Open File Explorer, copy the address %USERPROFILE%\Local Settings\Application Data\Yandex\Yandex Disk, and insert it into the address bar.
- Press Enter.
- Archive the contents of the folder that opens and attach this file to the feedback form.